How to install and setup SYSVPN on iOS
To get started with SYSVPN, first download it from the Apple iTunes Store. Once downloaded, you can use it for free for up to 7 days without any limitations. Please note that if you don't cancel your subscription before the 7-day trial period ends, it will automatically renew, and you will be charged accordingly.
To use this app, you'll need a device that runs on iOS 14 or later, as well as an active SYSVPN subscription. If you haven't subscribed yet, you can easily create a new account by clicking here.
Download & install
1. Open the App Store on your iOS device
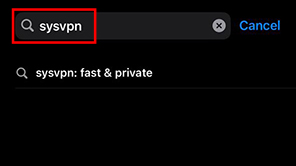
2. Type "SYSVPN" in the search bar and select the correct app from the search results
3. Tap on "Download", and the installation process will begin. The app may take a few seconds to install

Sign in to SYSVPN
1. To launch the application, you can either click on the "OPEN" button or go back to your phone's home screen and tap on the SYSVPN app

2. As soon as you open the app, you will receive a notification that asks for your consent so that we can examine a limited amount of anonymous data. This data will not be tracked back to a real person, it just helps us to scale our infrastructure and troubleshoot any potential issues, thus, it is safe to Agree & Continue
3. On the next page, you will be asked first to Create a new account, however, if you already have a paid subscription and just want to log in, select the Sign in button and proceed to sign in with your credentials
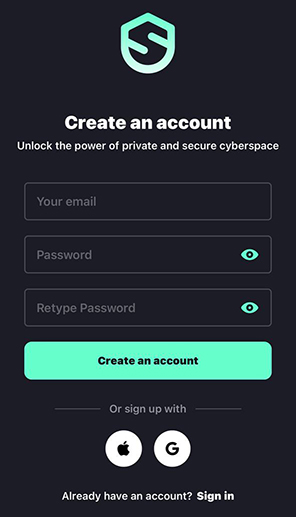
Please note that in case you're signing up, you'll need to choose a plan before you can start using the service
Your first VPN connection
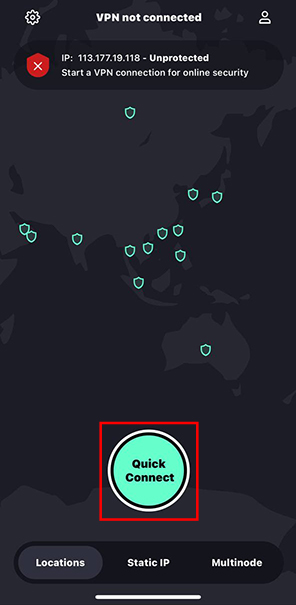
1. Once you are signed in, the main screen of the app is displayed. Tap on the Quick Connect button and the app will instantly connect you to the Best Server available based on your current location
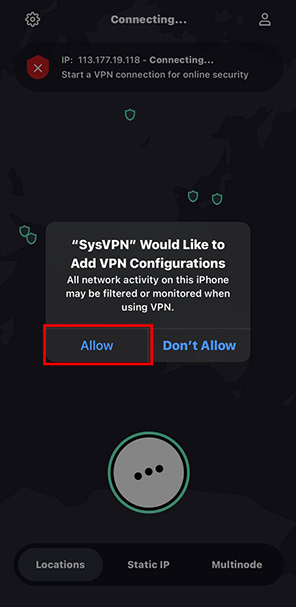
2. The first time you make a VPN connection with SYSVPN, the app will need to add VPN configurations to your device. This is necessary to enable SYSVPN to create and manage a VPN tunnel for you
3. If your connection was successful, you should see the status 'Connected’. The information on your new IP address will also be shown in the upper part of the main window and the lower will show the amount of data transferred and your VPN connection time
